Before I get onto XBMC, here’s a little extra setup I’ve done with my rPi. Remember, I’m currently using the raspbian distro, so don’t go trying the same steps when you’re using RISC or something else.
Wifi

The edimax wifi dongle I bought needed a little massaging to get working; unfortunately I could’t set it up directly from the command line and it appears that currently the only solution for configuring wifi within raspbian is to start the GUI desktop:
[code]startx[/code]
and punch the wifi config desktop icon. This will open the wifi config gui and allow you to scan and setup your connection.
Once this is done a restart should still keep the wifi connectivity
SSH via Connectbot sans password
I like to use connectbot to ssh into many things and I’m lazy so don’t fancy typing passwords if I don’t need to.
As such, here’s how to set up your raspberry pi with authorized key ssh access:
Generate a key
Install Connectbot from the android store
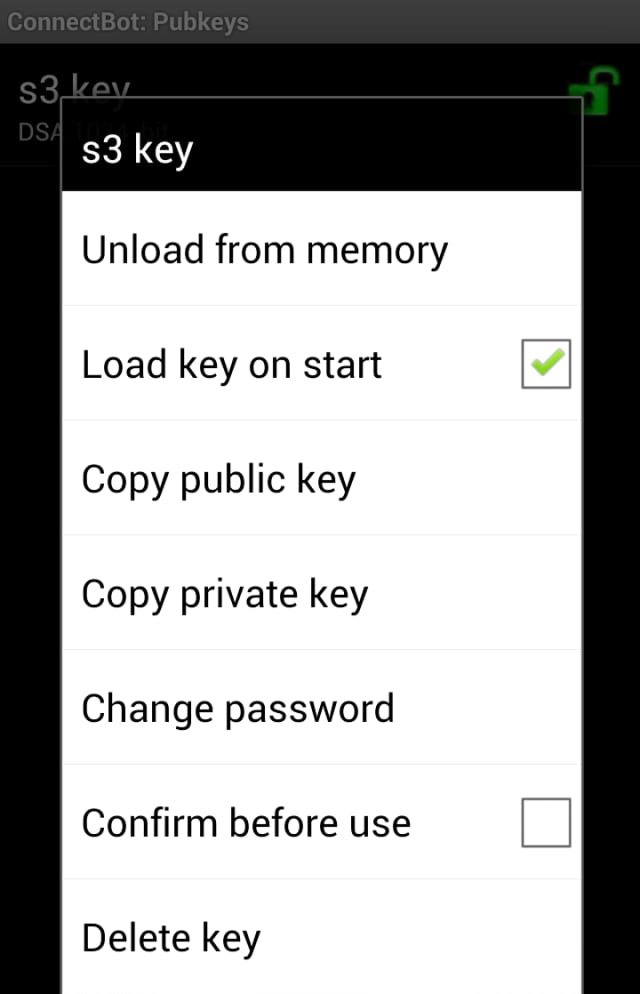
Generate a new key from the “manage keys” page
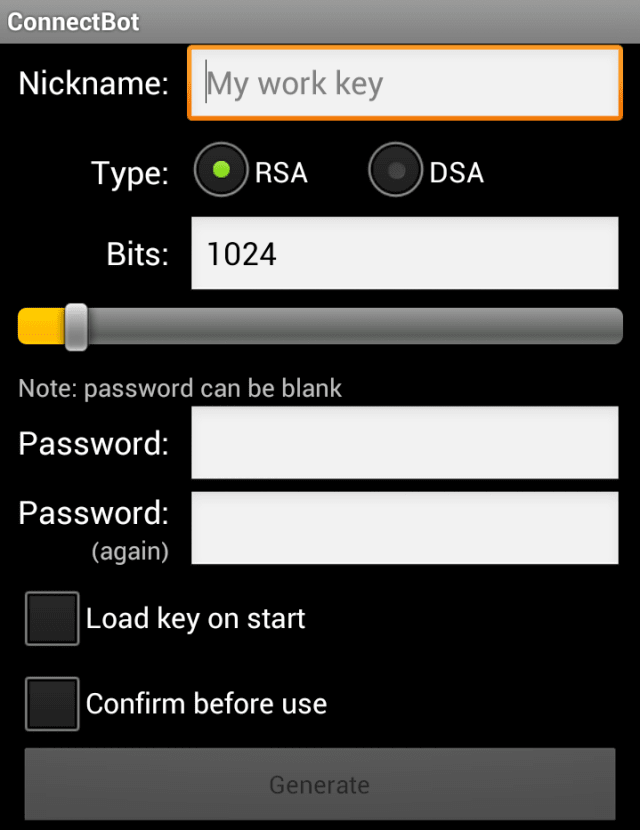
Copy the public key to clipboard
SSH into your raspberryPi from your connectbot instance using the username “pi” and password “raspberry” (unless you changed it from the default)
Paste the key into a new authorized_key file (there isn’t one created by default):
[code]cd ~
mkdir .ssh
chmod 700 .ssh[/code]
Then use the menu soft key to select “paste” after typing “echo”:
[code]echo [paste clipboard contents] >> .ssh/authorized_keys
chmod 600 .ssh/authorized_keys[/code]
Now you can exit the session and should be able to log back in without needing to enter a username or password. Whoop.
VNC
Just for the hell of it (and because I’ve become interested thanks to the blog posts at the end of this article) I’ve set up VNC on the pi. To do this is as easy as
[code]sudo apt-get install tightvncserver[/code]
and then start the server using something like
[code]sudo vncserver :1 -geometry 1024×768 -depth 24[/code]
You can then connect using your VNC viewer of choice to {the rPi’s IP}:1, e.g. 192.168.0.100:1
References
A great couple of posts on SSH and tunnels using the rPi here and here
