In my previous articles I took you through the process of setting up your own private WebPageTest, either via the AWS interface, or via Terraform infrastructure as code).
By default, this would create a Private WebPageTest instance that uses the latest code on the release branch of the official WPOFoundation github repo for WebPageTest.
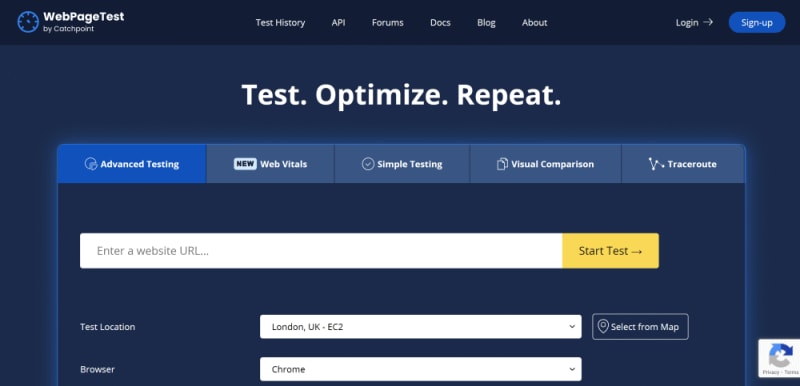
This is great if you like the newer UI (it’s not as up to date as the official WebPageTest.org site, which obviously evolves much faster), but it might not be what you want for a couple of reasons:
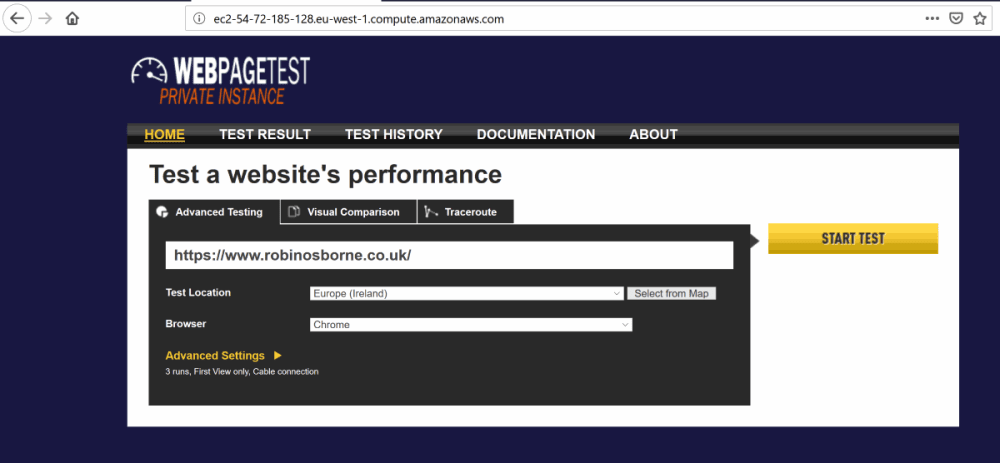
- You preferred the original, classic, WebPageTest UI, or
- You plan to monetise your private WebPageTest setup, which violates the
releasebranch’sLICENSE.mdentry about “Noncompete” and “Competition”
Since WebPageTest existed loooong before Catchpoint bought it up, the original version of the code (the fully open source version) still exists, and has no such non-competition concerns. It does have a LICENSE file, but that just lists all the licenses associated with the other libraries WebPageTest uses.
By the way, the same is also true for the WebPageTest agent –
masterbranch &releasebranch vsapachebranch – so bear that in mind if you’re creating a competing product. Presumably this is what Speedcurve do, for example. (Apparently so!)
In this article I’ll show you how to tweak the previous private WebPageTest installation scripts and setup processes to use the apache branch, thus reverting to the “classic” UI, and freeing you up from non-competition concerns. (if you get rich because of this article, please buy me a coffee and hire me, thanks 😁)
Apache licensed WebPageTest Agents
Let’s get the easy one out of the way first. To create a new webpagetest agent, you just run a setup script from a different repository: wptagent-install, so we’ll use that.
You can head over to my previous article about setting up custom agents and adapt it with only one changed line:
Luckily, the wptagent-install repo only has one branch – master – which is apache licensed, so creating your own “competitive” private instance webpagetest agents should just be a case of setting the WPT_BRANCH variable to “apache” when calling the install script:
# should all be on one line
WPT_BRANCH="apache" <-- add this!
WPT_SERVER="blah"
WPT_LOCATION="blah"
WPT_KEY="blah" bash <(curl -s https://raw.githubusercontent.com/WPO-Foundation/wptagent-install/master/debian.sh)This results in the installation script using the apache branch of the “wpt-agent” repo instead of the default one.
Create your agent AMI by following along with my previous article and copy it to the regions you want to test from, noting the AMI IDs to use in your locations.ini file later on, for the server setup.
Apache licenced WebPageTest Server
We can configure the private instance installation in a similar method, by setting the WPT_BRANCH environment variable before server installation.
Manual installation version
You can refer back to my previous article to manually set up a private instance, except we’ll change one step – look for the “Log in and run the WPT installation script 📜” heading and be sure to pass in the new envionment variable value, as below (and above!):
# this should all be on one line
WPT_BRANCH="apache" bash <(curl -s https://raw.githubusercontent.com/WPO-Foundation/wptserver-install/master/ubuntu.sh)
Terraform version
We’re going to be using the terraform script from another previous article; skip to the “Summary” section and copy the script. The changes we need to make are:
- Add a terraform variable
- Pass this value as the
WPT_BRANCHenvironment variable
1. Variable
variable "branch" {
  type=string
  default="release"
  description = "the version of webpagetest to install; default is `release`, OSS version is `apache`"

  validation {
    condition = contains(
      ["release","apache"],
      var.branch
    )
    error_message = "The specified branch is not valid."
  }
}
2. Pass this as environment variable
Because I don’t know a better way to do this (please let me know if there is one), I’m writing the value to a file which will set the environment variable upon execution.
Create the temp file:
  provisioner "remote-exec" {
    inline = [
      "echo \"export WPT_BRANCH=${var.branch}\" >> /tmp/vars.sh",
      "sudo chmod +x /tmp/vars.sh"
    ]

    connection {
      host     = "${self.public_ip}"
      type     = "ssh"
      user     = "ubuntu"
      private_key = "${local.keypair_content}"
    }
  }
Then execute it prior to other installation steps:
  provisioner "remote-exec" {
    inline = [
      ". /tmp/vars.sh", # <-- here!

      ...

      # install wpt server, picking up the specified branch
      "wget -O - https://raw.githubusercontent.com/WPO-Foundation/wptserver-install/master/ubuntu.sh | bash"
    ]

    connection {
      host     = "${self.public_ip}"
      type     = "ssh"
      user     = "ubuntu"
      private_key = "${local.keypair_content}"
    }
  }
Summary
When your instance boots up, it will now be running the apache version with the classic UI and free of non-competition restrictions! Yay!
The entire terraform script is in one file in the github repo under “blog post reference” and the better structured version is in the root of the same repo
Let me know how you get on!
Yes, the SpeedCurve agent is based on a fork of the Apache licensed version of the agent which we’re slowly evolving by removing features we don’t need and adding ones we do need