I’m committing to doing 12 months of “101”s; posts and projects themed at beginning something new (or reasonably new) to me. January was all about node development awesomeness. February is all about Smart TV apps.
SDK
There is a wonderfully detailed SDK document for the current latest version (v4.0) which provides the environment to develop and test apps for the 2011, 2012, and 2013 series of TVs.
This consists of an IDE (a version of Eclipse), a selection of emulators for the three series of TVs it supports, automated test tools, app packaging facilities, and a few other tools.
There are examples and tutorials for projects ranging from gesture recognition, voice recognition, adaptive video streaming, through to advertisment embedding.

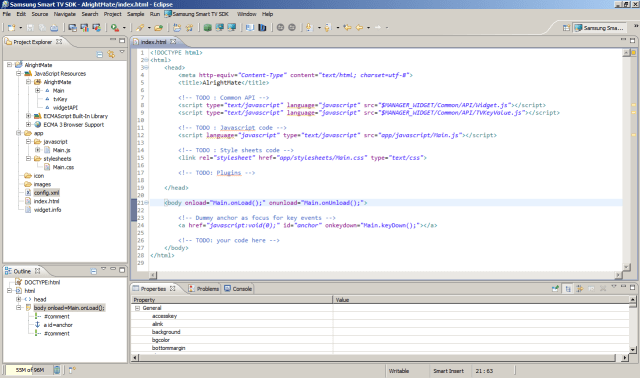
IDE – Ecplise
I’ve never been a fan of Eclipse as an IDE, but I’m stuck with it at the moment since it’s part of the Samsung SDK! To be fair, it does integrate into app development process quite well.
Once you’ve downloaded it from the SamsungDForum website and installed it you can create one of three types of application:
- Basic – for the less codey-types, using as visual editor. A bit like Visual Studio in design mode.
- Javascript – for writing the css, html, and js code yourself; this is the one I’ll be using
- Flash – strangely enough, for embedding flash into your app
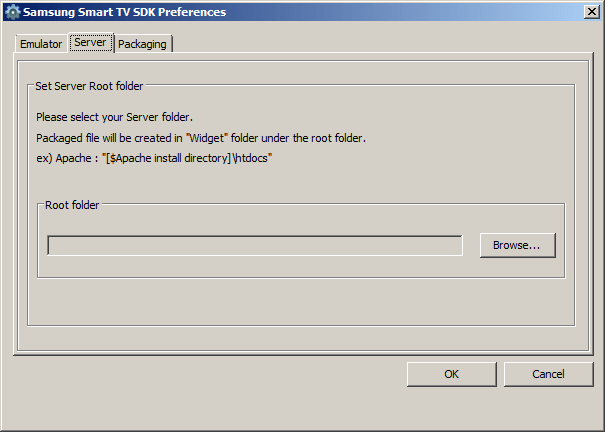
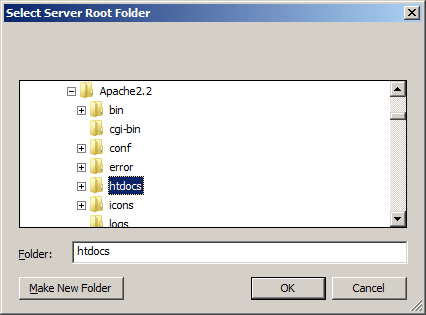
Within this flavour of Eclipse is the facility to launch the current application under development directly in an emulator, and also the ability to create a package for deployment (to be covered in the next post).
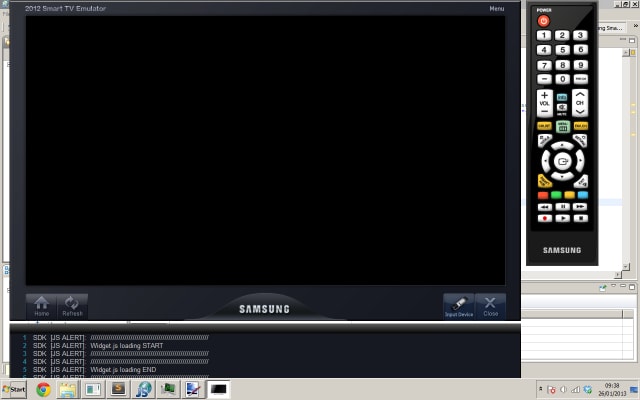
Emulator
As with any project in which you’re developing an application which will be running on a system that is different to the one on which you’re developing – such as iPhone or Android apps – you’re going to need a solid emulator.
The Samsung ones are actually reasonably good. There are some reasonably advanced debugging and testing facilities built into the SDK but even just having any javascript alert display within a debug window is extremely useful.

Developing a basic app
Right, let’s get down to business.
- Install the SDK
- Open up Eclipse
- Create a new Javascript app
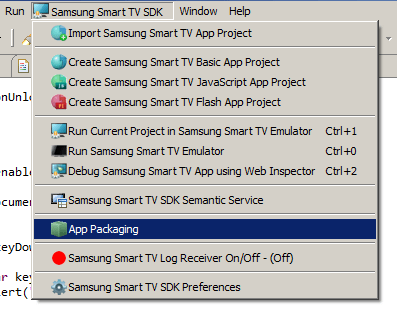
- Make sure you’ve selected the project in the file explorer tab (i.e., not one of the js or html files)
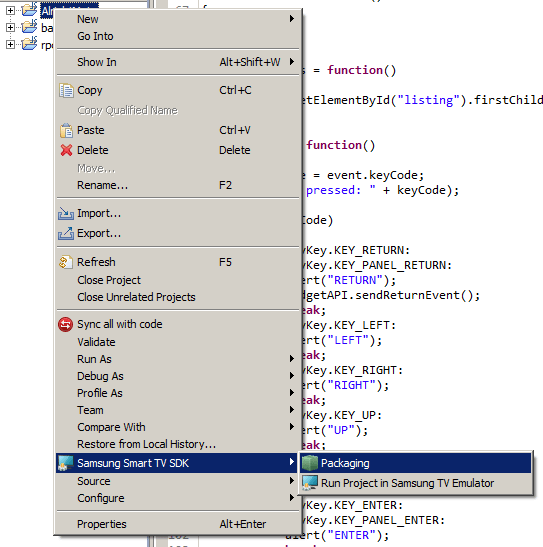
- Click the Samsung Smart TV menu and select Open current project in Emulator
aaaaannnnd
WOW! Nothing!
Ok, let’s make it do something.
Add in a new div, give it an id, and whack in some text. This still won’t actually appear so edit the css and give it a height, width, and garish background colour.
There’s still one thing that you may need to check; I believe that this is now part of the standard base project, but in previous versions of the SDK you had to edit the Main.onLoad event and wire up a call to let the application manager know it was now ok to start showing things:
[js]widgetAPI.sendReadyEvent[/js]
My resulting HTML looks a bit like:
[html highlight=”8,9″]<!DOCTYPE html>
<html>
<head>
<meta http-equiv="Content-Type" content="text/html; charset=utf-8">
<title>AlrightMate</title>
<!– TODO : Common API –>
<script type="text/javascript" language="javascript" src="$MANAGER_WIDGET/Common/API/Widget.js"></script>
<script type="text/javascript" language="javascript" src="$MANAGER_WIDGET/Common/API/TVKeyValue.js"></script>
<!– TODO : Javascript code –>
<script language="javascript" type="text/javascript" src="app/javascript/Main.js"></script>
<!– TODO : Style sheets code –>
<link rel="stylesheet" href="app/stylesheets/Main.css" type="text/css">
<!– TODO: Plugins –>
</head>
<body onload="Main.onLoad();" onunload="Main.onUnload();">
<div id="content">Alright mate?</div>
<!– Dummy anchor as focus for key events –>
<a href="javascript:void(0);" id="anchor" onkeydown="Main.keyDown();"></a>
<!– TODO: your code here –>
</body>
</html>[/html]
and the autogenerated Main.js script has this onLoad method:
[js]Main.onLoad = function()
{
// Enable key event processing
this.enableKeys();
widgetAPI.sendReadyEvent();
}[/js]
Notice the $MANAGER_WIDGET files referenced in the head; these files allow access to common object modules and are on the TV itself and installed as part of the SDK.
Try running the emulator again –
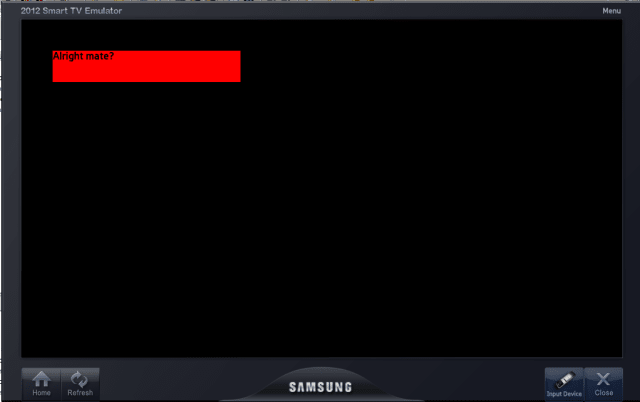
Stonking.
Developing a slightly less basic app
Using the API created in my January posts on nodejs I’m going to create a tv app which will display the results of a product search on the Asos catalogue.
The main.js file now has an updated onload method, which makes a call to the API and then passes the returned data to a new method:
[js]Main.onLoad = function()
{
var URL = "http://rposbo-basic-node-api.apphb.com/products/socks?key=" + api_key;
if (this.XHRObj != null){
this.XHRObj.destroy();
}
this.XHRObj = new XMLHttpRequest();
if (this.XHRObj) {
alert("got XHR");
this.XHRObj.onreadystatechange = function () {
alert("State changed to " + Main.XHRObj.readyState);
if (Main.XHRObj.readyState == 4) {
alert("got data");
Main.recieveData();
}
};
this.XHRObj.open("GET", URL, true);
this.XHRObj.send(null);
}
// Enable key event processing
this.enableKeys();
widgetAPI.sendReadyEvent();
};[/js]
The new recieveData method which loops through the returned product data and creates some basic html elements to display the image and title in a list item:
[js]Main.recieveData = function () {
alert("alerting data…");
var data = JSON.parse(this.XHRObj.responseText);
for(var i=0; i<data.products.length; i++)
{
var product = data.products[i];
alert("adding " + product.title);
// image
var productImg = document.createElement("img");
productImg.setAttribute("src", product.image);
// text
var title = document.createTextNode(product.title);
// link containing both
var link = document.createElement("a");
link.appendChild(productImg);
link.appendChild(title);
// list item containing link
var listItem = document.createElement("li");
listItem.appendChild(link);
document.getElementById(‘listing’).appendChild(listItem);
}
};[/js]
No jQuery here, since I don’t want to have to load it up locally on to the tv and waste precious memory.
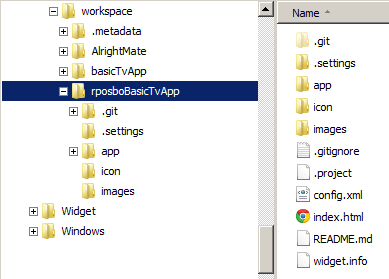
The single html file now looks like
index.html
[html highlight=”12″]<!DOCTYPE html>
<html>
<head>
<meta http-equiv="Content-Type" content="text/html; charset=utf-8">
<title>rposboBasicTvApp</title>
<!– TODO : Common API –>
<script type="text/javascript" language="javascript" src="$MANAGER_WIDGET/Common/API/Widget.js"></script>
<script type="text/javascript" language="javascript" src="$MANAGER_WIDGET/Common/API/TVKeyValue.js"></script>
<!– TODO : Javascript code –>
<script language="javascript" type="text/javascript" src="app/javascript/key.js"></script>
<script language="javascript" type="text/javascript" src="app/javascript/Main.js"></script>
<!– TODO : Style sheets code –>
<link rel="stylesheet" href="app/stylesheets/Main.css" type="text/css">
<!– TODO: Plugins –>
</head>
<body onload="Main.onLoad();" onunload="Main.onUnload();">
<div id="listing"></div>
<!– Dummy anchor as focus for key events –>
<a href="javascript:void(0);" id="anchor" onkeydown="Main.keyDown();"></a>
<!– TODO: your code here –>
</body>
</html>[/html]
The highlighted line is just where I define my API key and refer to it in Main.js.
This subtly changed code now looks something like:

Next up – deploying to a TV
We’ve got a basic app, now it’s time to get it on to the TV!
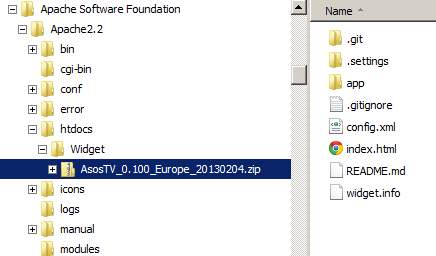
The code from this post is available on github